I’m very excited! We’ve only bloomin’ got Liz Earle guest blogging on Lipglossiping today innit!
It’s an exciting week for everyone at Liz Earle who are currently celebrating the 15th anniversary of their multi-award winning Cleanse & Polish Hot Cloth Cleanser.
Liz agreed to share her tips on how to save some pennies and treat ourselves to a well-deserved uber facial whilst in the comfort of our own pig stys homes. Read on for her fabulous how-to…

Dear Lipglossiping Friends,
It’s lovely to share with you my personal tips on how to pamper your skin in the comfort of your own home! Plus, if you are looking to curb the expense of a full salon treatment, this technique could be for you.
As summer is approaching, this at home facial is exactly what your skin needs – a fresh, new beginning! Simple, fuss- free and pampering, this facial will leave you with a complexion ready for summer.
Here are the quick and easy steps of what to do:
~ Cleanse
~ Exfoliate
~ Steam
~ Extracts (if any)
~ Tone
~ Mask and rest
~ Moisturise
Cleanse
The cornerstone of fabulous looking skin is cleansing. Cleansing is integral to achieve a clear complexion by getting rid of daily grime and impurities to keep your skin clean and prevent blemishes. Look for a gentle cleanser that is free from mineral oil, has a rich and creamy texture and swiftly removes all traces of face and eye make-up.
Apply a small amount of your cleanser of choice to the fingertips of one hand and dot on forehead, cheeks, chin and neck. Massage the cleanser into your skin in small circular movements – always work down the neck, and up from jaw line to your forehead, going outwards from the centre of the face. Work around the nostrils to help shift blackheads, especially if you’re spot-prone.
Wash off the cleanser using a pure muslin cloth wrung out in warm water to help gently dislodge dead skin cells and help reveal clean, soft and radiant skin. Finish by splashing your face with cold water for a final refresh.
Exfoliate
Exfoliating is a vital step to buff away dead skin cells and impurities, in order to reveal fresh radiant skin. To give yourself the equivalent of a salon treatment at home, you can use a very gentle face exfoliator. Look for one containing spherical beads such as jojoba and avoid anything with jagged particles such as nut kernels.
Gently massage your exfoliator over your face, neck and décolleté, for one to three minutes, using the whole length of your fingers and working in little circles, out from the centre. Avoid your eye area.
Rinse off with warm water. To remove any last traces, sprinkle toner on cotton-wool pads and sweep them over your face.
Steam
After you have prepped your skin by cleansing and exfoliating, start the steaming process! Avoid this step, however, if you have very high colour on your cheeks, or rosacea. You can buy fancy gadgets for the steaming process but I get the best results by steaming my face over a basin of hot water for five minutes. Here’s how you do it:
~ Fill a bowl with just-boiled water and allow it to cool for a minute or two.
~ Tie back your hair, or use a soft stretchy hair band.
~ You can get skin softened and prepped from plain steam, with nothing added to the water, although adding a few drops of essential oil will help blemish or spot-prone skin. All pure essential oils are volatile oil compounds and therefore have antiseptic and antibacterial properties. My favorites for facial steaming are lavender (good for all skin types), rosemary (for oilier skin) and tea tree (highly antibacterial and thus excellent for helping to purify spots and breakouts). Add three to four drops to the water just before you put your face over it, and swoosh round with a toothbrush handle or similar. Essential oils are broken down by heat, so drop in at the last moment to retain maximum potency and aroma.
~ With the towel over your head, take six deep slow breaths (through your mouth may be more comfortable). Move your head a little so every part of your face benefits from the cleansing steam.
~ Remove the towel after about five minutes and use it to pat the skin dry.
Extracts
The easiest time to remove any small spots or blackheads is just after steaming when skin is softer. Apply a small dab of plant oil (i.e. grapeseed or almond) or balm to the affected area.
Wrap both index fingers in a tissue (pull it in half, so you have two thin sheets) and gently press the blemish to unclog the plugs of sebum. Wipe clean and follow with a sweep of skin tonic. If the spot is deep, don’t push or poke too hard; it may not be ready to be extracted.
A good tip: good light is essential and if you don’t have 20/20 vision, a magnifying mirror is very useful.
Tone
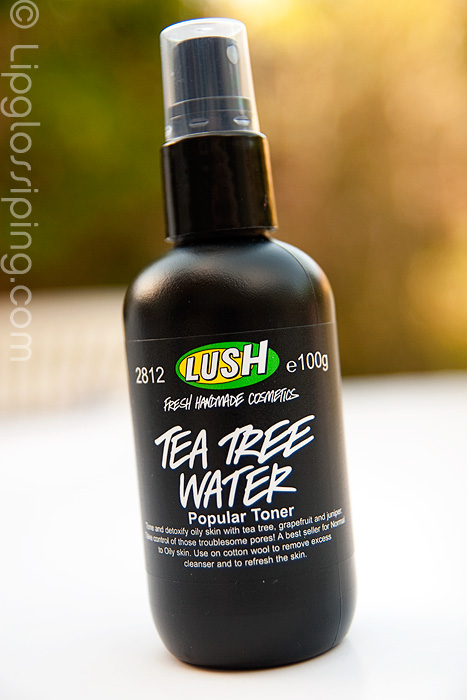
A toner is essential for closing pores and preparing your skin for your favorite moisturiser, so follow extractions with a sweep of skin toner sprinkled onto a cotton wool pad to cool the skin. This will help to keep your complexion cool and calm. Look for an alcohol free toner that will not dry or irritate your skin.
Mask & Rest
Some women don’t usually use a mask, but I believe it’s an essential part of the process to leave skin balanced, calm and clear. Apply a generous layer of your favorite mask to both face and neck, but avoid the immediate eye area. Clay-based masks are useful for spot-prone congested skin. If you have dry skin I recommend using a creamy, oil-based mask as these are more nourishing.
It’s fine to mix and match masks and use a clay-based mask on your T-zone and then a richer, hydrating formula on drier cheeks. Apply with your fingertips or – a little insider secret – use a blusher brush to paint the mask over your face!
To help you fall into a haven of rest and wake up with eyes that sparkle, dampen two cotton wool pads with an eye lotion. Look for one that’s gentle, soothing and will revitalize your delicate eye area. If you have the time, chill the pads in an ice tray for 10 minutes before applying for a refreshing treat.
I encourage you to lie down for 15 to 20 minutes with your feet propped up – raising your ankles above the level of your heart helps circulation. Once you start feeling re-freshed, remove the eye pads and thoroughly wipe away the mask with a damp muslin cloth, flannel or facial sponge.
Moisturise
Finish your pampering treat by applying a moisturiser. Dot over your face, neck and décolleté before massaging in.
I recommend you look for a moisturiser containing natural plant oils which will work in harmony with your skin’s natural oils to give it just the right amount of moisturisation, leaving your skin radiant with a healthy-looking glow.
Follow with your selected eye cream.
I hope you’ve found my personal tips helpful and just in time for summer. If you have any questions regarding this at-home facial treatment, please feel free to ask any questions to Charlotte and the Liz Earle team and I will be happy to answer them.
Best regards,
Liz
…
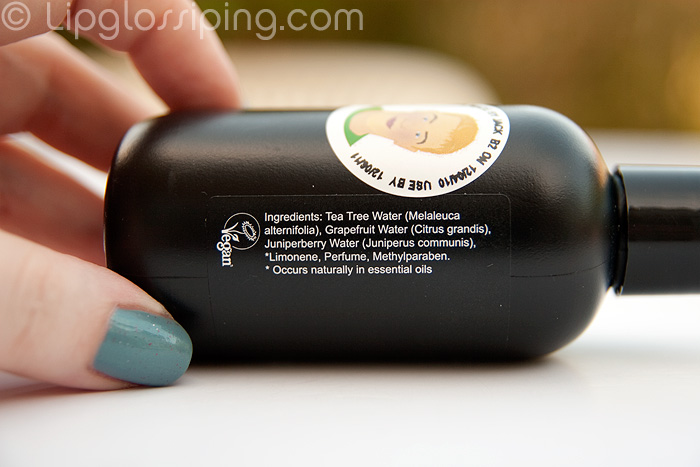
So there you have it, tips from a bonafide skincare queen! I’m going to give it a go this weekend, I’m in need of some serious pampering and have my Instant Boost Skin Tonic and Deep Cleansing Mask at the ready!
I never get round to making time to do this kind of thing despite ALWAYS promising myself that I will, so I’m pledging…. right here, right now. Next week, my skin will GLOW from a proper DIY facial thanks to these tips. Anyone else gonna make the pledge with me? And no cheating… you have to do the lot… the steaming and the feet up bit included!
Also, as Liz mentioned… if you have any questions about DIY pampering, please leave a comment below!
