We wear makeup for many different reasons. Some of us like to experiment with colour, some of us like to improve upon our natural beauty *cough*, and some of us enjoy piling on everything we own just because we can.
At the moment, I’m somewhere between number two and a facefull of slap. Whenever I’m sick (is she still going on about that?), my skin is the first place it shows and the last place it recovers. Flaky, blotchy, purple under the eyes, and spots a-plenty are the order of the day. Which is exactly what one needs when you already feel like shit, of course.
Whilst I’d love to tweak my skincare routine to improve my natural radiance and rebalance my complexion from the inside out… I’d also like to be able to sprout a pair of wings and crap on the EDL headquarters from a great height. Sadly, neither are happening any time soon, and so instead, I turn to my makeup routine for the answers and pray that it won’t fail me.
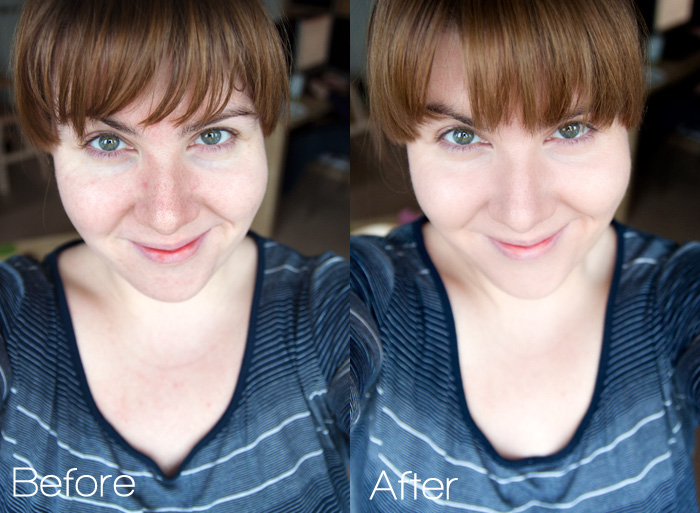
This isn’t a tutorial as such, I’m no bleedin’ make up artist after all… but I thought I’d go into some real depth about the products that I’m using to work, what is basically, a skin miracle at the moment.
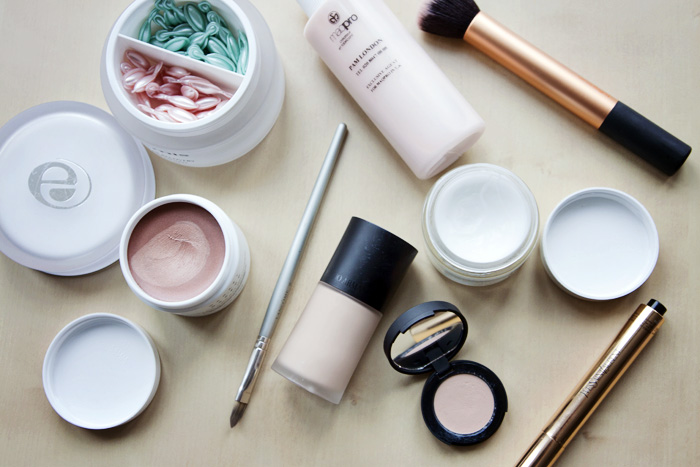
First things first, skin prep. If your skin is suffering, you can’t ignore this step in the routine. It’s imperative that you give your makeup the best possible base upon which to sit. It may be that you’re fighting an oil-slick or something akin to moon craters, or perhaps like me… you’re battling dryness of epic proportions. Take an extra five-minutes to target these concerns before you even go near your face with foundation, the finished result will be worth the effort.
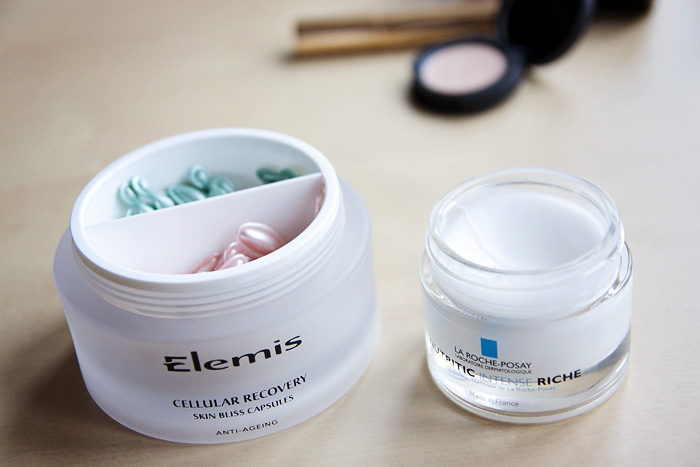
Starting with a cleansed, exfoliated, and moisturised face… I deal with the dryness that has been causing my foundation to cling in patches. Upon Caroline‘s advice, I’m treating my skin to a moisture sandwich of oil and cream, first with an Elemis Cellular Recovery Skin Bliss (£62.00) capsule which delivers an antioxidant-rich hydration boost in the form of moringa oil, followed immediately by a generous layer of La Roche Posay’s Nutritic Intense Riche* (£14.00)
And then I wait. A couple of minutes later, I can tell where I need additional hydration, so I work a little more of the LRP into the skin, avoiding the areas that are prone to midday oiliness. That done, I move onto the one product that generally replaces “primer” for me during the colder months.
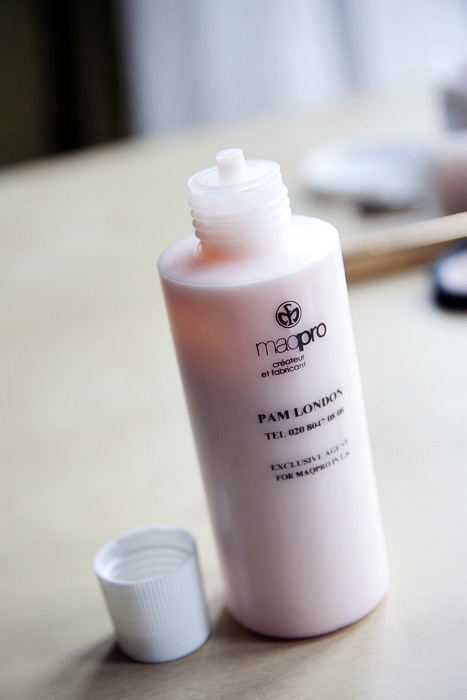
Maqpro Makeup Mixer (from £8.00) is a makeup artist’s trick taught to me by the wonderful Kenneth Soh who recommended it to me a couple of years ago as a great base for mineral products on drier skins. It’s a tip that continues to save me whenever my skin is behaving badly. Not only is it a wonderful mixer for sheering out heavier foundations, it also does wonders for improving how a product applies over, and sits ontop of dry skin without compromising the moisture levels underneath.
At this point, I use a brush to apply the Maqpro but I don’t work it fully into the skin, preferring instead to dot the product allover with the brush and only lightly blend. This way, it combines easily and increases the glide of the next layer of product.
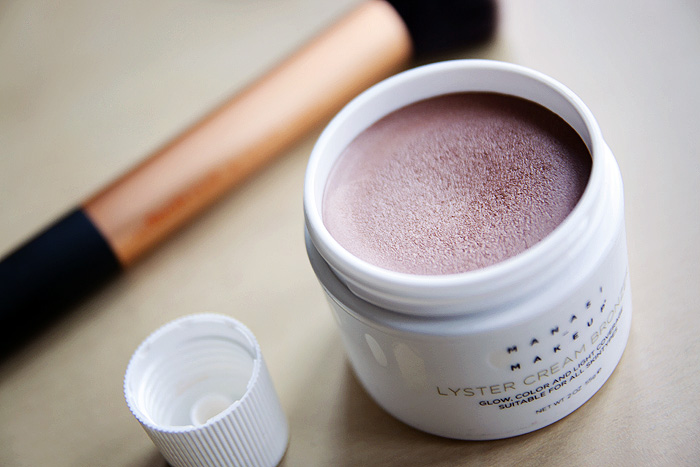
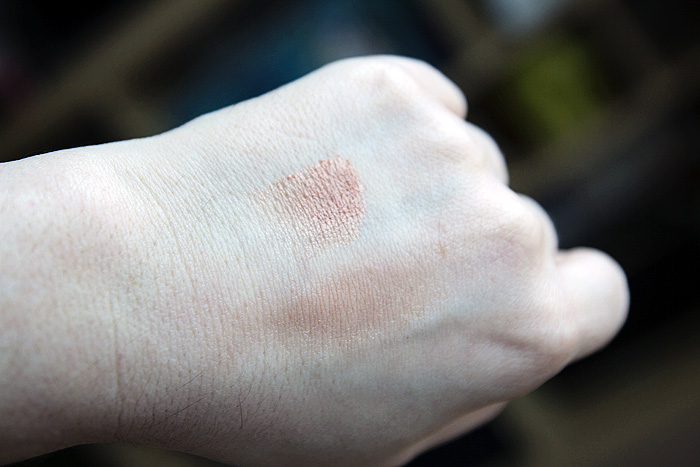
Before even contemplating foundation, I still want to improve the radiance levels of my skin. A lot of the time, I reach for a liquid illumintor that I can apply allover and then “tone down” with foundation. I’ve been trying something a little different recently in the form of this rather splendid Lyster Cream Bronzer* (£36.00) from Swedish brand Manasi Makeup.
The pot contains far more product (55g) than I could ever see myself using and as such, I do wish they offered a smaller-size for less money but I can’t deny that the product itself is beautiful. Free from mineral oils and parabens, it delivers something inbetween a bronzer and a luminizer that works very nicely against my pale skintone. If you’re blessed with naturally great skin, I could see something like this being your one-pot wonder for sunkissed, healthy-looking skin without fear of looking orange or overdone.
I tap my brush lightly on the top (you don’t need much) and work the bronzer all over my skin using a circular motion, it blends nicely… but even more beautifully with my layer of Maqpro beneath it.
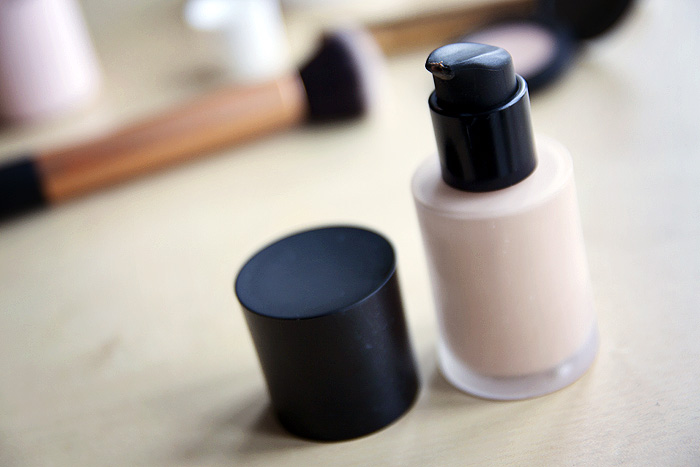
Finally, it’s time for foundation! At the moment, I’m alternating between my Giorgio Armani Luminous Silk Foundation in shade 4.5 (£34.50) and my beloved tube of Clinique Supermoisture Makeup* (£19.35) which is a better option for when I don’t have the time to do this kind of skin prep. If I am using the Clinique, I skip the Maqpro in this next step as it’s an exceptionally moisture-rich foundation on its own merit.
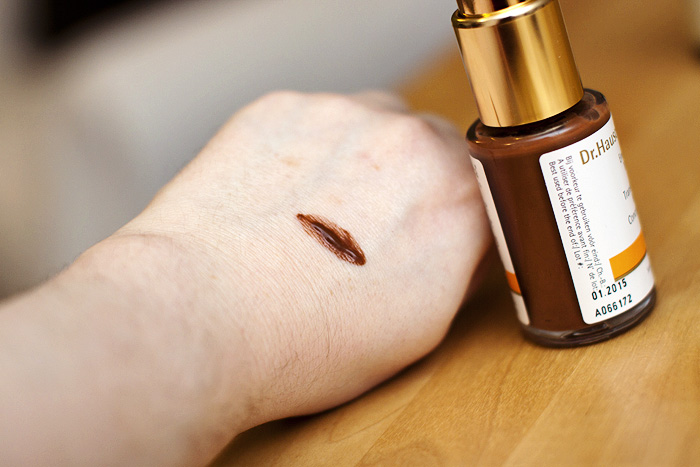
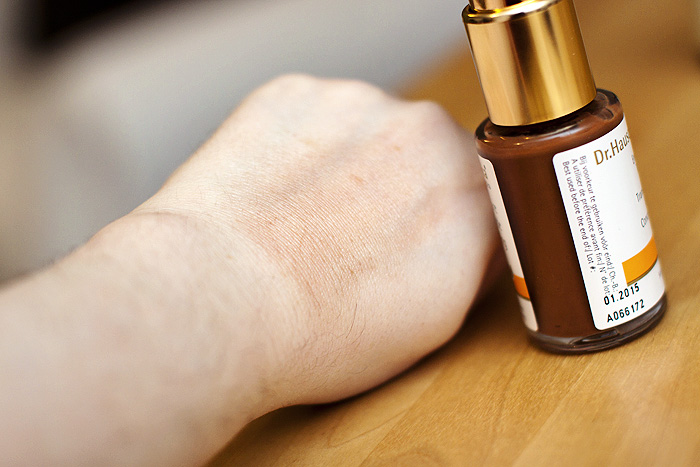
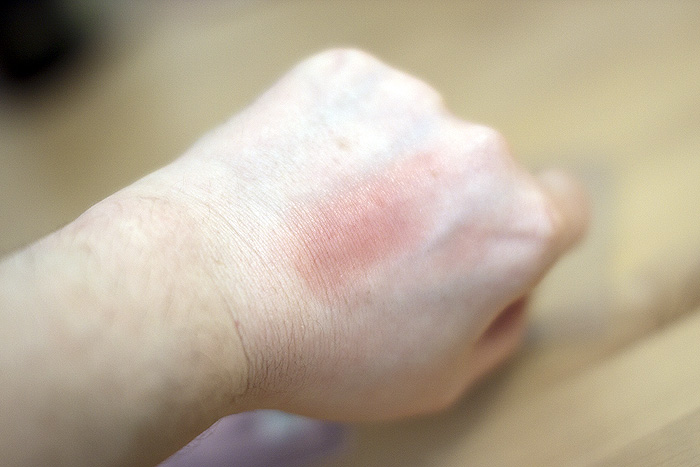
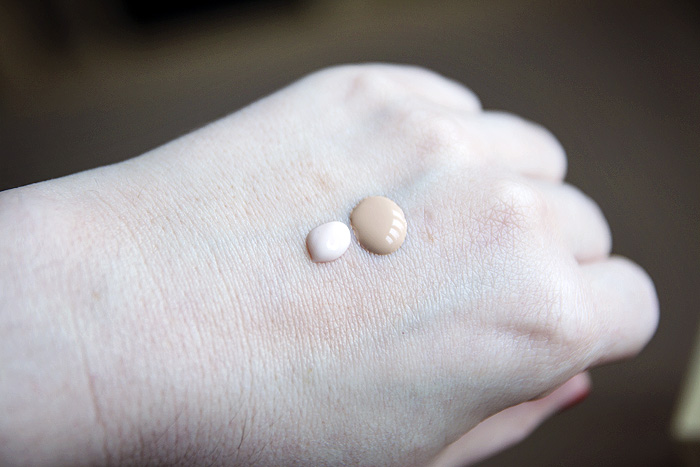
When I’m using anything other than the Clinique, I reach again for the Maqpro (as shown below). One blob of each and using the same face brush as I’ve been using all along, I give the products a little mix on the back of my hand before working into my skin lightly.
I never apply foundation heavily or in more than one layer when my skin is playing up because it doesn’t matter how much preparation or effort I put into the application, after a few hours… my foundation will clump over the dehydrated patches if it’s too heavy. Which is why, I always reach for concealer as the last step despite usually being a bit of a concealer-phobe when my skin is less fussy.
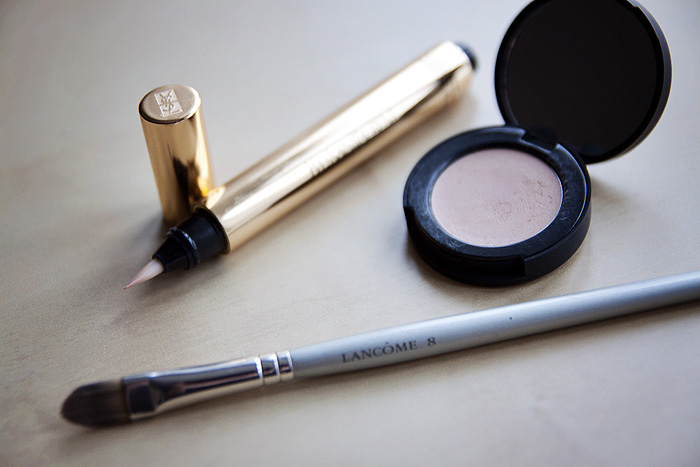
Bare Minerals SPF 20 Correcting Concealer* (£21.00) is the perfect choice for dry skin-types thanks to a light texture and a lot of slip. It’s very creamy and offers a good amount of coverage, making it a great choice when your aim is to keep your layers as thin as possible. The final step is a little precision highlighting with something like the iconic YSL Touche Eclat (£25.00).
Now, that’s quite a lot of product but use my “how-to” as a guide rather than a manual. The principles are simple and you’ll already have certain products in your collection that you know you can substitute…
1. Make a real effort to get your skin in the best condition possible before you go near it with colour.
2. Work in thin, lightweight layers.
3. Add additional moisture or “slip” as you go.
4. Now isn’t the time for powder, keep things creamy.
5. If you’re nervous about being too heavy-handed with illuminator or bronzer, apply it before your foundation.
6. Leave concealer until the last possible moment, you’ll end up using less product as a result.
How’s your skin behaving at the moment and what trickery are you employing to get the best from your complexion?
* press sample


