Lash curling. I think it’s probably one of the most under-talked about subjects in the blog world. And you know why? Because it’s a hugely neglected step in the quest for makeup perfection.
Before you think I’m preaching, I’m guilty of this too. The number of times that I pass over my eyelash curlers and reach straight for the mascara is pretty shameful for someone blogging about the virtues of this crucial step in the process!
First things first, many women give up on the idea of lash-curling simply because they haven’t found a pair of curlers to suit their eye shape. Some pinch, some force you to contort your wrist awkwardly, and some… well, some just don’t give any kind of curl at all. If your lashes are stubbornly straight, you may be better off investing in a pair of heated lash curlers which promise to give super-strength and hold to your curl.
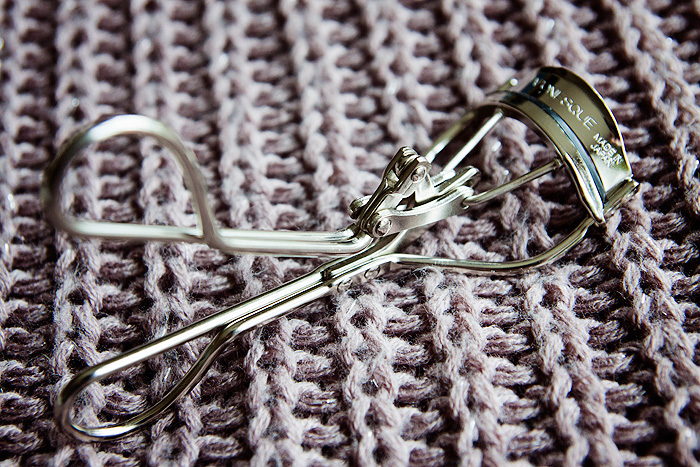
My lashes are fairly average, they curl nicely at the end but benefit from a bit of lift at the roots for a more wide-eyed look. I’ve tried a few lash curlers in the past and my needs aren’t so demanding that I’ve struggled to find a tool that works (although I find the Shu Uemura ones a little too flat for me). Having said that, I’m enjoying the effortless results that I’m getting from these Japonesque Power Curl Eyelash Curlers* (£20) from Cult Beauty.
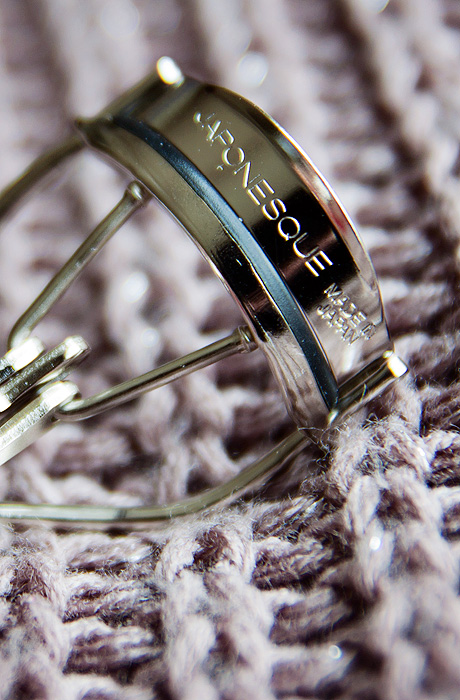
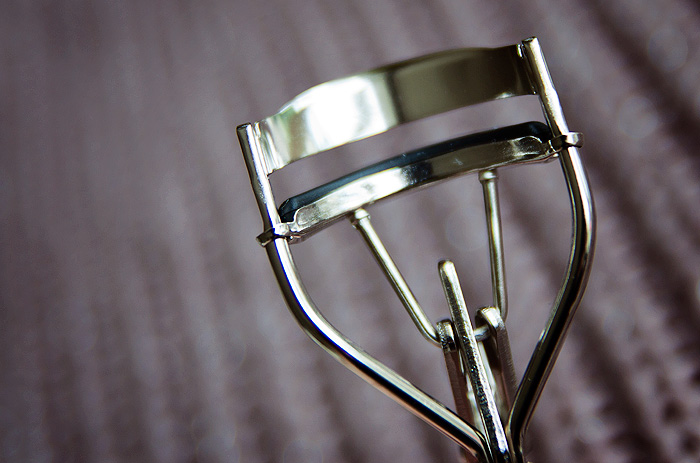
I say “effortless” because these ones seem to catch each lash in one attempt. I don’t have to faff around with placement and even though I’m using them extremely close to the root, I can squeeze them together safe in the knowledge that I’m not going to feel a pinch at the outer corners. Something that I have experienced in the past when I curl close to the root. I suppose you just know when you find a pair that suits your eye-shape and curling requirements, and these are pretty much spot-on for me. There’s also the added bonus of the brand offering free replacement curler pads throughout the lifetime of the product!
So… lash-curling… for the uninitiated, let me give you a few quick tips that work for me:
1. Rest the curlers against your cheek, they should feel comfortable to work with
2. Look down as you get the curlers in position, this will help trap as many lashes as possible.
3. Hold still whilst curling and count to ten before releasing your grip, you don’t want to pull out any lashes!
4. If your lashes are super-straight, don’t be afraid to create another curl halfway along the lash… and even another at the very tip if needed!
5. Set your curl with mascara. If your lashes are very curl-resistant, you may fare better with a waterproof mascara for extra-strength hold.
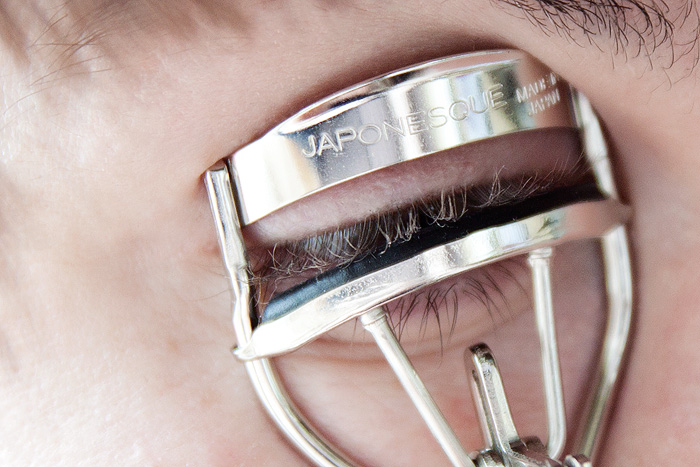
place and…
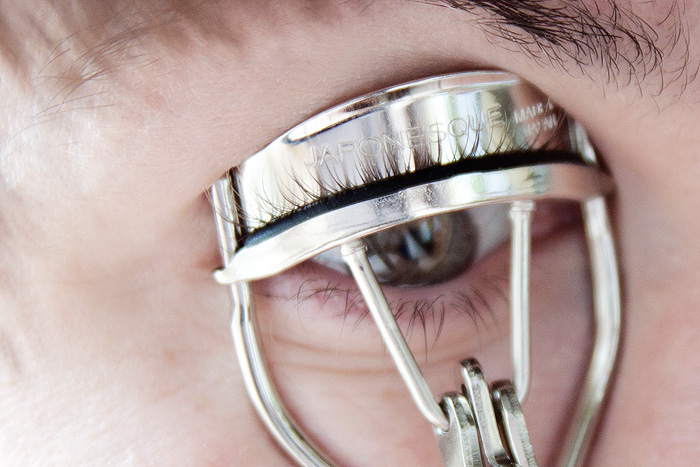
…squeeze!

worth the effort?
I did the above demonstration without a mirror (I was holding my camera!) and you can see that I had the curler a little too close to my nose, missing a couple of lashes at the outer corner. This is actually quite useful because it means that you can see the “droop” my lashes would have had minus the curling step.
Do you curl your lashes every day? Think it makes enough of a difference to warrant the additional step in your routine?
* press sample


